QuickBooks Online Setup for Nonprofits
Company Type
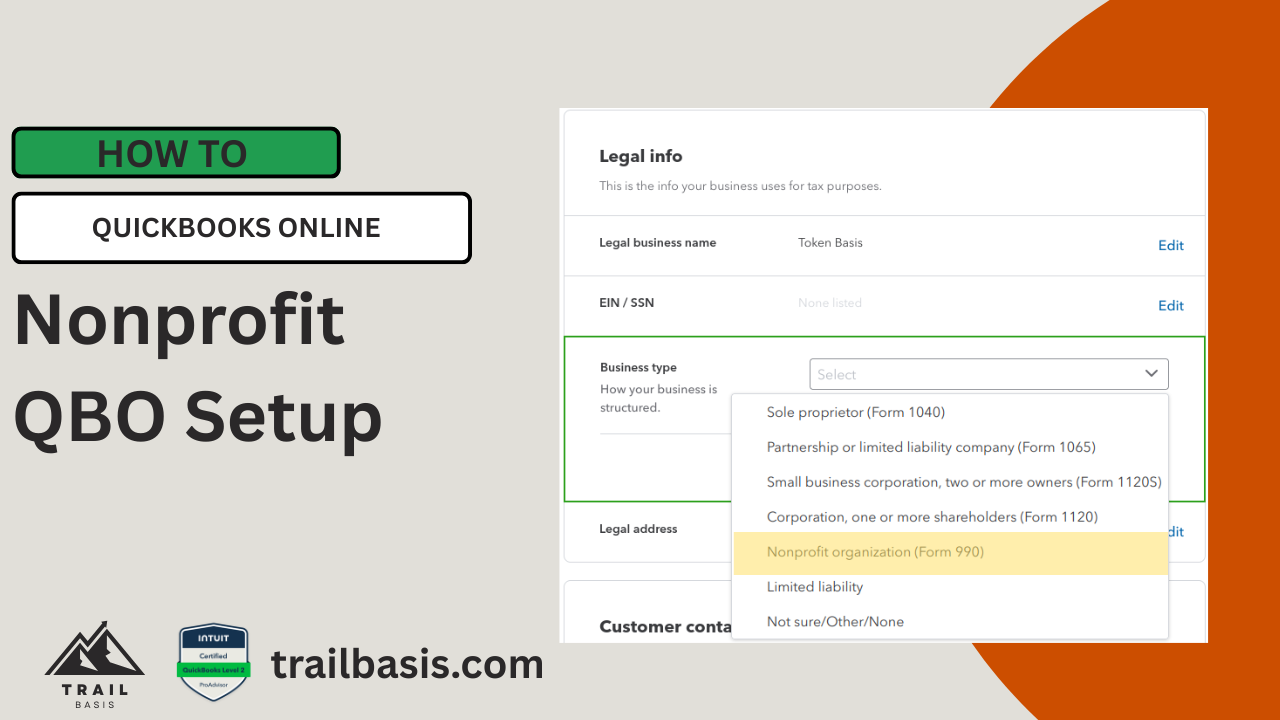
Open Settings and select Account and Settings
Scroll down to the Legal info section
Select the Business Type dropdown, then choose Nonprofit organization (Form 990)
Click Save
Change “Customers” to “Donors”
Open Settings and select Account and Settings
Click Advanced
Scroll to the Other preferences section, click Edit
Click the Customer label dropdown, select Donors
Click Save
Click Done
Follow the configuration described above, you should see the following changes in your account.
The term Pledge replaces Invoice
Financial report names will be the traditional nonprofit report names
Statement of Activity replaces the Profit and Loss
Statement of Financial Position replaces the Balance Sheet
Net Assets replace Equity
The term Donor replaces Customer
Note, all changes may not be immediate